How to Install a People Counter: A Professional Guide to Precision Setup
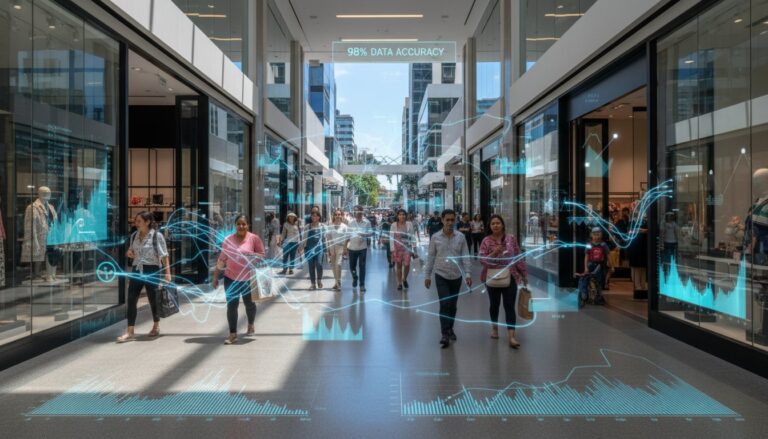
What if the data guiding your A$200,000 annual staffing budget was actually 15% inaccurate because of a simple mounting error? You understand that every visitor represents a potential conversion, yet the technical complexity of hardware often creates a barrier to true insight. Learning how to install a people counter correctly is the difference between guessing your peak hours and knowing them with 98% precision. It’s a process that requires a balance of spatial logic and technical rigour to ensure your investment delivers reliable intelligence.
You likely agree that data is only valuable if it’s flawless, especially when privacy compliance and network stability are on the line. This guide promises to walk you through the professional steps required to deploy a high-accuracy system that integrates seamlessly with your existing business dashboards. We will cover everything from optimal sensor placement and PoE configuration to the specific calibration techniques that eliminate double-counting and ensure full compliance with Australian privacy standards.
Key Takeaways
- Conduct a comprehensive site survey to assess entrance dimensions and ceiling heights, ensuring you select the optimal hardware for your specific Australian retail environment.
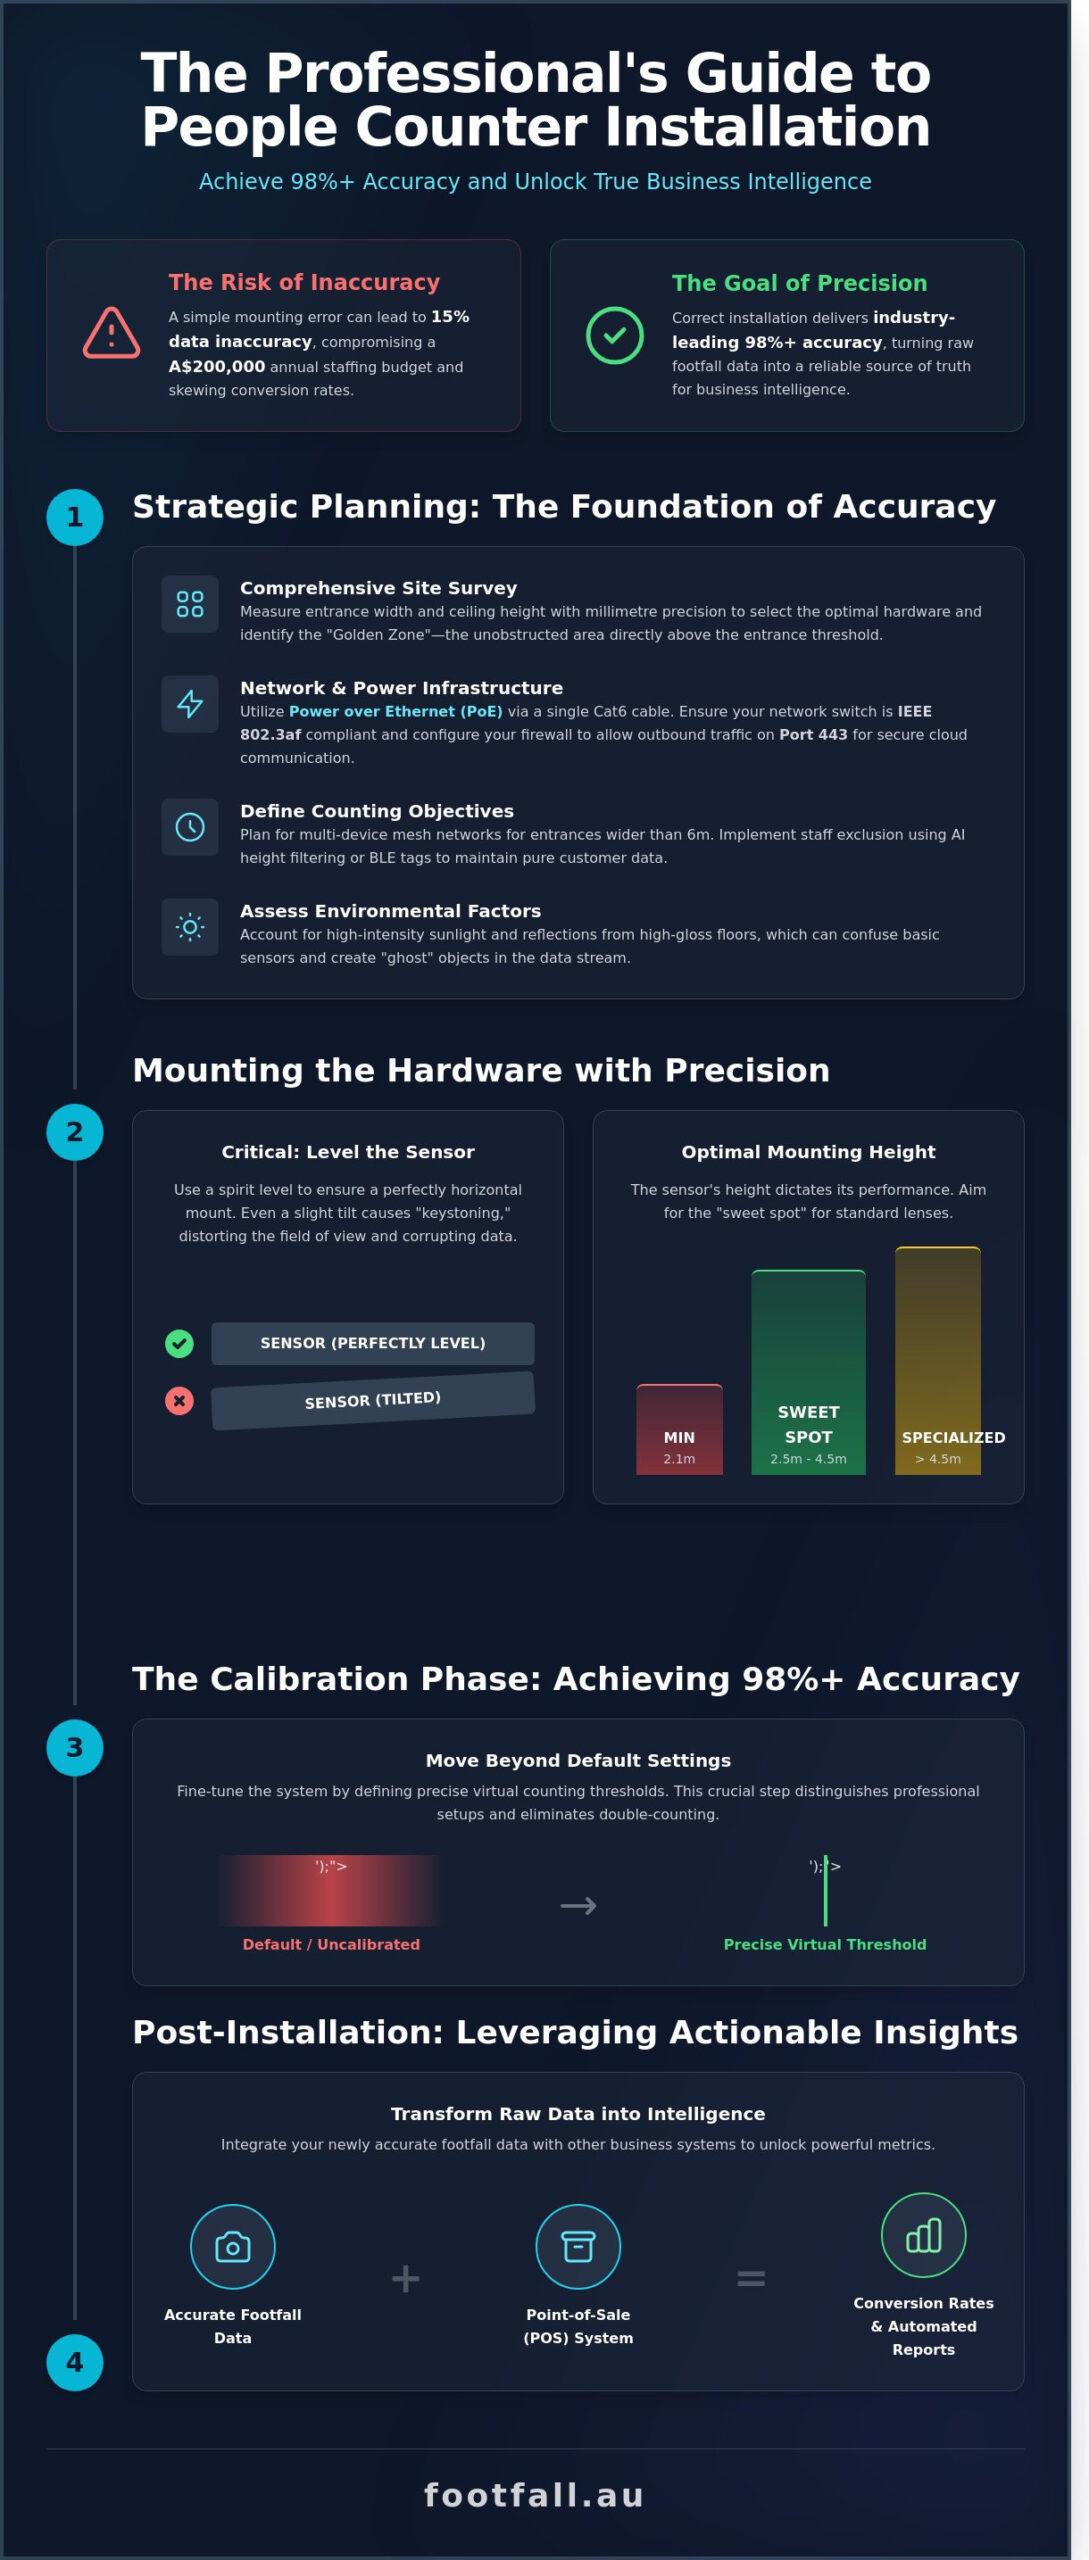
- Learn how to install a people counter with precision by selecting the correct mounting brackets and ensuring a perfectly level sensor to prevent field-of-view distortions.
- Achieve industry-leading 98%+ accuracy by mastering the calibration phase, moving beyond default settings to define precise virtual counting thresholds.
- Streamline your digital configuration by identifying devices on your local area network and utilizing the setup wizard for a seamless initial power-up.
- Transform raw footfall data into actionable intelligence by integrating your system with Point-of-Sale (POS) software to track conversion rates and automate reporting.
Strategic Planning: Preparing for a Successful People Counter Installation
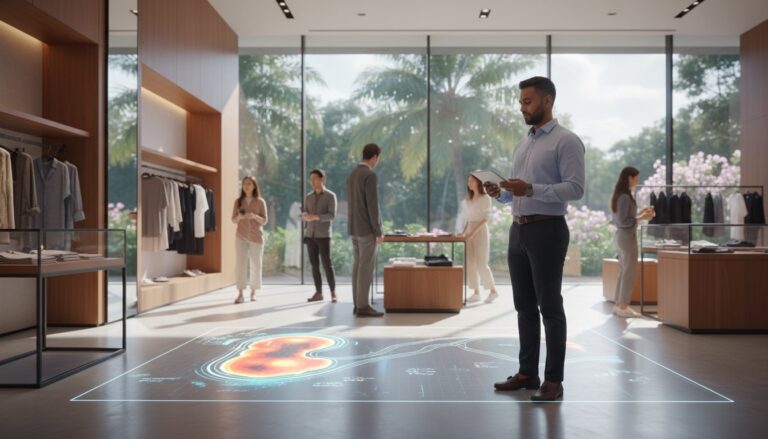
Precision begins long before the first screw is driven into the ceiling. A site survey is the most critical stage of the visitor journey analysis because it eliminates variables that lead to data drift. If your sensor is misaligned by even 5 degrees, your conversion rate data becomes fiction. You’re not just mounting hardware; you’re establishing a source of truth for your business intelligence.
Start by measuring your entrance width and ceiling height with millimetre precision. Most high-performance 3D sensors require a minimum mounting height of 2.1 metres to effectively distinguish between a human and a shopping trolley. If your Australian retail space features ceilings higher than 4.5 metres, you’ll need specialized long-range lenses to maintain a 98% accuracy rate. Identifying the ‘Golden Zone’ is your primary goal. This is the unobstructed area directly above the entrance threshold where the sensor can track the head and shoulders of every visitor without interference from signage or lighting fixtures.
Environmental factors in Australia, such as high-intensity sunlight through floor-to-ceiling glass, can create reflections that confuse basic sensors. Evaluate the floor surface as well. High-gloss tiles can mirror overhead lights, creating “ghost” objects in the data stream. Learning how to install a people counter correctly means accounting for these physical nuances before the technician arrives on site.
Network Infrastructure and Power Requirements
Power over Ethernet (PoE) stands as the industry standard for reliable installations. It delivers both power and data through a single Cat6 cable, which reduces your electrical contractor costs. Ensure your network switch supports the IEEE 802.3af standard to prevent power fluctuations. Data security is paramount. You’ll need to configure your firewall to allow outbound traffic on Port 443. This ensures a secure, encrypted link to the cloud. Bandwidth usage is remarkably low, typically consuming less than 2KB per second, so it won’t lag your point-of-sale systems or guest Wi-Fi.
Defining Your Counting Objectives
Decide early if you need simple entrance totals or sophisticated spatial analytics. Modern people counting technologies allow for complex path tracking and dwell time measurement. If your store entrance exceeds 6 metres in width, a single device won’t suffice. You’ll need to plan a multi-device mesh network where sensors “hand off” tracking data to one another seamlessly. Don’t forget staff exclusion. To keep your conversion rates accurate, use AI-based height filtering or BLE tags to ensure your team’s movements don’t skew the final count. Understanding these requirements is the first step in how to install a people counter that delivers actionable results.
Step-by-Step Guide: Mounting Your People Counting Hardware
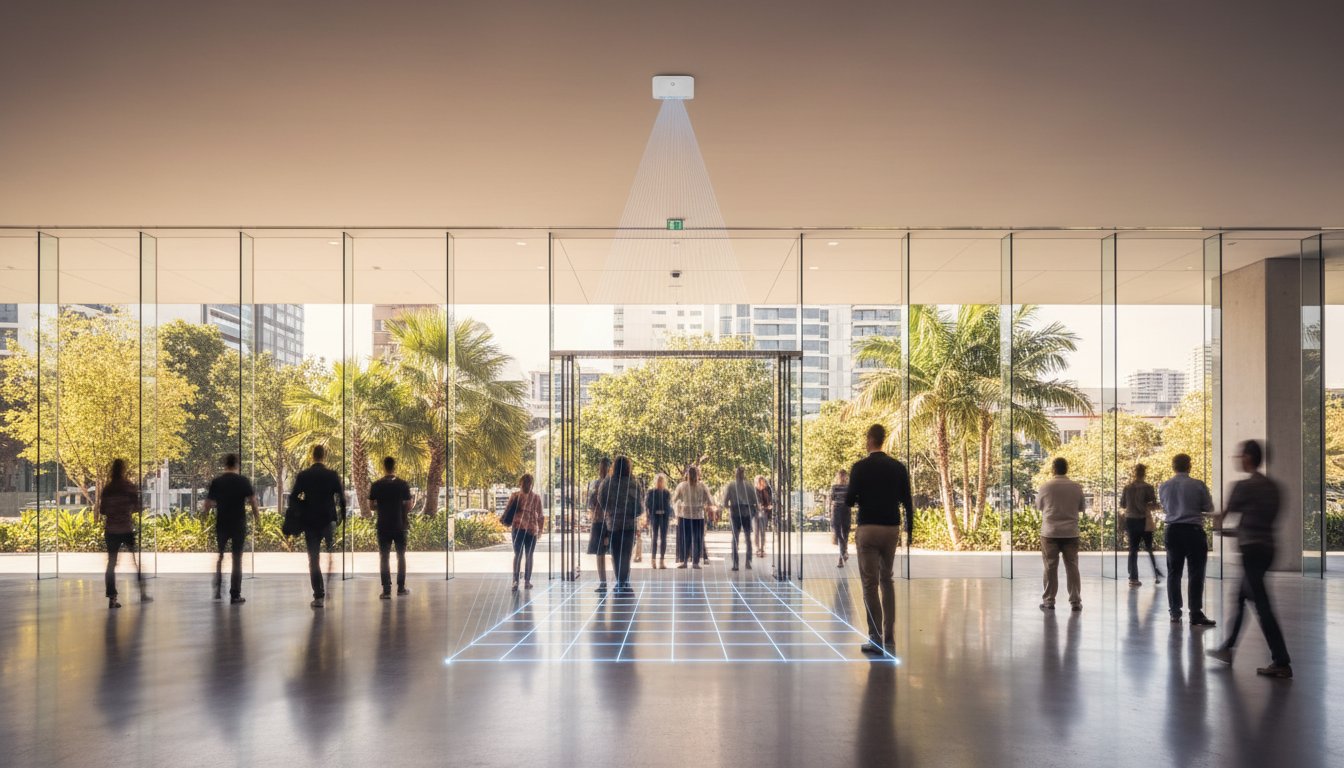
Precision is the foundation of actionable data. When you learn how to install a people counter, the physical placement of the hardware dictates the ultimate accuracy of your spatial analytics. You must first select the appropriate mounting bracket based on your ceiling architecture. Recessed mounts offer a flush, discreet finish for plasterboard ceilings, while surface mounts provide a robust solution for concrete slabs or exposed industrial structures common in modern Australian retail designs.
Leveling the sensor is a critical technical requirement. Use a spirit level to ensure the device sits perfectly horizontal. A sensor that is even slightly tilted will experience “keystoning,” where the AI field of view becomes distorted. This distortion causes the software to miscalculate the floor plane, leading to errors in height detection and object tracking. Professional installers prioritize a level mount to maintain the integrity of the 3D depth perception.
Cable management ensures both security and aesthetics. The FootfallCam Pro2 utilizes a single Cat5e or Cat6 cable for Power over Ethernet (PoE). Route this cabling through the ceiling cavity or via secure conduit to prevent tampering. Once the bracket is fixed, click the sensor into place and verify that the status lights indicate a stable network connection. This clean installation prevents accidental disconnections that could lead to data gaps.
Optimal Height and Angle Calculations
Sensors achieve peak performance when mounted within a height range of 2.5m to 4.5m. This “sweet spot” allows the 3D lenses to capture enough detail for accurate person-counting while maintaining a wide field of view. For Australian warehouses or big-box retailers with ceilings exceeding 5m, use specialized drop-poles to bring the sensor down to the functional range. Avoid steep tilt angles; a 90-degree downward view is the industry standard for tracking the human visitor journey without perspective errors.
Installing the FootfallCam Centroid for CCTV Conversion
You can leverage existing infrastructure by integrating IP cameras into your footfall network using the FootfallCam Centroid. This AI box connects to your local network via an RJ45 port and pulls RTSP streams from your security cameras. It transforms standard video into intelligent data by processing the feed through its onboard AI processor. After the physical connection, you must map virtual counting lines on the video interface. This allows you to define specific entry thresholds, turning a security tool into a source of seamless business intelligence. Understanding how to install a people counter via this method reduces hardware costs while expanding your analytical reach.
Connectivity and Digital Configuration
Connectivity begins the moment you apply power via a Power over Ethernet (PoE) cable. The hardware requires a steady 48V supply to initialize its onboard processors and AI sensors. Once the status LED stabilizes, use a network discovery tool to locate the sensor’s MAC address on your local area network (LAN). This digital handshake is a foundational part of how to install a people counter correctly, ensuring the hardware communicates effectively with your internal infrastructure from the first minute of operation.
IP Assignment and Security Settings
Stability in data transmission depends on your IP strategy. While DHCP offers quick setup, a static IP address is the professional standard for Australian retail environments. It prevents the sensor from losing its connection if the router reboots, maintaining a persistent link to your reporting tools. Security is equally vital. You must change the default login credentials immediately to comply with Australian cybersecurity best practices. FootfallCam sensors support encrypted SSL/TLS data uploads. This ensures that your visitor metrics remain protected as they move from the local sensor to the FootfallCam V9 Software platform.
Firmware Updates and Initial Synchronisation
The intelligence of your counter resides in its AI model. Before you proceed to calibration, check for the latest firmware updates via the device web interface. These updates often include improved background subtraction algorithms that handle tricky lighting conditions typical in Australian storefronts. Synchronizing the time zone is the next non-negotiable step. If your sensor time differs from your Point of Sale (POS) system by even five minutes, your conversion rate data will be inaccurate. Verify the live video stream to ensure the lens is clear of obstructions. A sharp image is necessary for the AI to distinguish between human shapes and inanimate objects like shopping trolleys or mannequins.
Successful digital configuration ends with the setup of automated health alerts. These triggers notify your management team via email or SMS if the device goes offline for more than 30 minutes. High-performing retail chains aim for a 99.5% device uptime to ensure no visitor journey data is lost during peak trading hours. By establishing these protocols now, you transform a simple sensor into a reliable business intelligence asset. Follow these steps to ensure your data remains clean and actionable:
- Identify: Locate the device on the LAN using the FootfallCam Device Manager.
- Secure: Update passwords and enable HTTPS for all web traffic.
- Sync: Align the sensor clock with your local Australian Eastern, Central, or Western time zone.
- Monitor: Configure the heartbeat signal to report device status every 15 minutes.
When you understand how to install a people counter with a focus on digital precision, you eliminate the risk of data gaps. This phase bridges the gap between physical installation and strategic data analysis, providing the evidence-based foundation your business needs to optimize staffing and marketing spend.
The Calibration Phase: Achieving 98%+ Accuracy
Mounting the hardware represents only half the challenge. To transform a sensor into a precision instrument, you must move beyond “out of the box” configurations. Standard settings rarely account for the unique architectural nuances of Australian retail spaces, such as high-glare shopfronts or wide, open-air mall entrances. Achieving the industry gold standard of 98% accuracy requires a meticulous calibration of the virtual environment.
The core of this process involves drawing precise counting lines. These virtual thresholds act as the trigger for data logging. You should position these lines deep enough into the store to avoid capturing passersby, yet far enough from internal displays to prevent congestion from skewing the numbers. Advanced logic like “U-turn” filtering is essential here; it ensures that a customer who steps across the line but immediately pivots back out isn’t recorded as a valid entry. Similarly, dwell time logic allows the system to ignore staff members or security guards who remain within the detection zone for extended periods. This level of detail is what separates raw data from actionable intelligence when learning how to install a people counter effectively.
Setting Exclusion Zones and Sensitivity
Every retail environment contains “noise” that can trigger false positives. You must define exclusion zones to mask out inanimate movement, such as oscillating fans, sliding glass doors, or digital signage. Sensitivity settings also require adjustment to handle the harsh Australian sun. Light shifts during dawn and dusk can create long shadows that some sensors mistake for human forms. By fine-tuning the depth perception and height filters, typically set to distinguish between adults, children under 1.2 metres, and shopping trolleys, you ensure the system only tracks the visitors that impact your conversion rates.
Verification and Accuracy Auditing
Once the logic is set, you must perform a live validation walk-through. This involves a staff member crossing the threshold 20 to 30 times in various patterns while a technician monitors the real-time data feed. For wide entrances exceeding 4 metres, check that overlapping sensor fields aren’t “double counting” a single individual as they pass through the center. An Accuracy Audit is the process of verifying automated counts against video truth. This final audit provides the evidence-based confidence needed to trust your data for high-stakes staffing and marketing decisions. If your manual sample deviates from the AI report by more than 2%, you must revisit your exclusion zones and line placement.
Ready to turn your foot traffic data into a strategic asset? Contact our specialists to optimise your sensor calibration today.
Post-Installation: Leveraging Actionable Insights
Successful hardware mounting is only half the battle. Once you’ve mastered how to install a people counter, the focus shifts to translating raw numbers into profit. Raw data is a liability if it sits idle; it becomes an asset only when it informs a decision. Integrating footfall data with your Point-of-Sale (POS) system transforms basic counts into a clear conversion rate metric. If your store sees 1,000 visitors but only 150 transactions, you’ve identified an 85% missed opportunity rate that requires immediate strategic attention.
Set up the V9 dashboard to deliver automated weekly reports every Monday at 8:00 AM. This ensures your management team starts the week with a clear view of performance across all Australian locations. Precision requires consistency. Establish a people counter support schedule that includes lens cleaning every 90 days and a full system recalibration every 12 months. This routine maintenance preserves the 98% accuracy levels required for enterprise-grade analytics.
Spatial analytics allow you to rethink your store layout based on real movement. By tracking dwell times and pathing, you can identify “dead zones” where 0% of customers venture. Moving high-margin stock into these high-traffic corridors, as identified by your sensors, can lead to an immediate lift in average transaction value.
Training Staff on Data Interpretation
Move beyond simple “how many” metrics to understand the “why” behind visitor behavior. If 400 people enter but 360 leave without buying, the data points to a service gap or inventory issue. Use peak-hour data to optimise staffing rosters nationally. A 12% increase in floor staff during the Saturday 2:00 PM rush can significantly reduce walk-outs caused by long queues. Heatmaps and flow charts visualise the visitor journey, turning complex coordinates into a narrative of human movement that store managers can easily digest.
Long-term System Maintenance
Data integrity relies on annual hardware health checks. Environmental factors like lighting changes or store renovations can shift sensor fields over time. If you’re running legacy equipment, consider upgrading via the Footfall Australia Swap Out Plan. This program ensures your infrastructure stays aligned with the latest people counting technology without the need for massive capital expenditure. Regular audits ensure your evidence-based decisions are built on a foundation of absolute accuracy.
Mastering Your Data Infrastructure
Precision installation is the foundation of reliable spatial analytics. By following a structured approach to mounting and digital calibration, you ensure your business captures the full narrative of the visitor journey. High-quality data depends on technical accuracy, specifically using proprietary AI hardware designed to maintain a 98% accuracy threshold. Learning how to install a people counter properly transforms raw foot traffic into a strategic asset that informs staffing, marketing, and conversion strategies. When hardware is positioned correctly, the resulting insights become a catalyst for operational growth.
Since 2004, Footfall Australia has provided Australian businesses with the technological eyes needed to decode human movement. Our national partner network offers local support across every state, ensuring your setup meets professional standards from day one. It’s time to replace guesswork with evidence-based success. High-tech innovation shouldn’t be a hurdle; it should be a seamless addition to your management toolkit. Request a Professional Installation Consultation today to secure your competitive advantage. Effective data collection is the first step toward a more efficient, profitable operation.
Frequently Asked Questions
Can I install a people counter myself or do I need a professional?
You can install most modern plug and play sensors yourself, as 85% of retail hardware now uses standard Ethernet connectivity. DIY setup is straightforward for single entrances with standard ceiling heights. However, complex sites with high ceilings or multiple linked entries often require a professional to ensure 98% data accuracy through precise sensor positioning.
What is the best height to mount a people counting sensor?
The optimal mounting height for 3D LiDAR or Time of Flight sensors is between 2.5 and 4.5 metres. Mounting a device at 3.5 metres typically provides a field of view that covers a 4 metre wide entrance with 99.5% precision. If your ceiling exceeds 5 metres, you’ll need specialized long range lenses to maintain reliable data integrity.
Do people counters work in low light or dark conditions?
Modern 3D Time of Flight (ToF) and LiDAR sensors operate perfectly in total darkness because they emit their own infrared light pulses. These sensors don’t rely on visual contrast or ambient light like older 2D cameras. They provide consistent footfall data 24 hours a day, which is essential for 24/7 gyms or late night hospitality venues across Australia.
Is a wired (PoE) connection better than Wi-Fi for people counters?
A Power over Ethernet (PoE) connection is superior to Wi-Fi because it delivers both power and high speed data through one stable cable. PoE eliminates the risk of signal interference that can drop Wi-Fi connectivity by 15% in crowded Australian shopping centres. Understanding how to install a people counter with a wired backbone ensures your data stream remains uninterrupted during peak trading periods.
How do I ensure the people counter is GDPR and privacy compliant?
Choose a system that uses “Privacy by Design” technology to process data locally on the hardware without capturing personally identifiable information. High end sensors convert human shapes into anonymous mathematical coordinates rather than recording video. This method fully aligns with the Australian Privacy Act 1988 and international GDPR standards, as no faces or identifiable features are ever stored.
What happens if my internet goes down? Will I lose my footfall data?
You won’t lose your data if your sensor includes internal on-board storage, which usually caches up to 30 days of footfall information. Once your internet connection is restored, the device automatically synchronizes the stored data with your cloud dashboard. This redundancy protects your business analytics against local network outages or ISP downtime.
Can one people counter cover a very wide double door entrance?
A single 3D sensor can typically cover an entrance up to 8 metres wide, depending on your specific mounting height. For openings wider than 8 metres, you should link multiple sensors together to create a stitched field of view. This configuration ensures 100% coverage across the entire span and prevents double counting when visitors walk between the overlap zones.
How often should I recalibrate my people counting system?
You should perform a remote validation check every 12 months or whenever you change your store layout near the entrance. Learning how to install a people counter correctly involves setting a baseline accuracy of at least 98%. Periodic audits ensure that new promotional signage or floor mats haven’t created blind spots that could skew your conversion rate data.